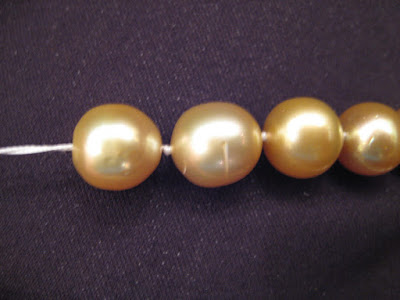
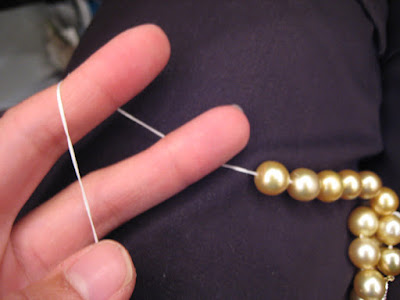
If you are up for learning to do this on your own, then your best luck may be at a craft store. Look for thin silk thread, small wire/beading needles, a pair of small sharp scissors (pointed tips), and super glue.


The next item is not necessary but it definitely makes knotting easier, faster, and tighter. You can find such knotting tools on Amazon or here.


Here is a small box of French wire (silver colored) that is often used to prevent the string from fraying after prolonged contact with the jump ring of the clasp.

Here are some guiding steps:
1. Measure your necklace or bracelet and multiply this length by four (4). For example, you will need 28" of silk thread for a standard 7" bracelet. Once you become more accustomed to stringing, you can be more conservative. In the beginning, however, the extra thread will be useful and allows room for knots.
2. Thread the silk through the eye of the beading needle.
3. Double the thread and knot the end.

4. String two (2) pearls onto the thread.

5. Cut a small piece of French wire (either gold or silver color) and thread this small piece onto the thread.

6. Thread the jump ring of the clasp onto the thread.
7. Loop the needle back into the nearest pearl, pull until the French wire becomes a small loop. No thread should be seen closest to the clasp.


8. Tie a knot as close as possible to first pearl.
9. Loop the needle through the second pearl and knot as close as possible. There should be a small piece of thread left with the very first knot. Do NOT cut this piece of thread yet.

10. Continue stringing all pearls onto the thread.

11. Use a beading tool like the one below to help tie knots as close as possible to the pearl.


12. STOP knotting when you have two (2) pearls left to finish.
13. Repeat steps 5 to 7, but this time you will need to carefully push the last two pearls together to avoid seeing any of the silk thread.

14. Tie a knot by hand.
15. Now you can close the knots by either (1) carefully super gluing or (2) burning the thread together. I usually super glue using the tip of an old needle or safety pin. Avoid excess super glue because it will make the knot large and unsightly.


2 comments:
pearl jewelry is beautiful and attractive too. there are wide range of pearl colors available. choosing a color is a personal choice. round pearls is first choice for many people.
Diamond Rings Sydney
Post a Comment